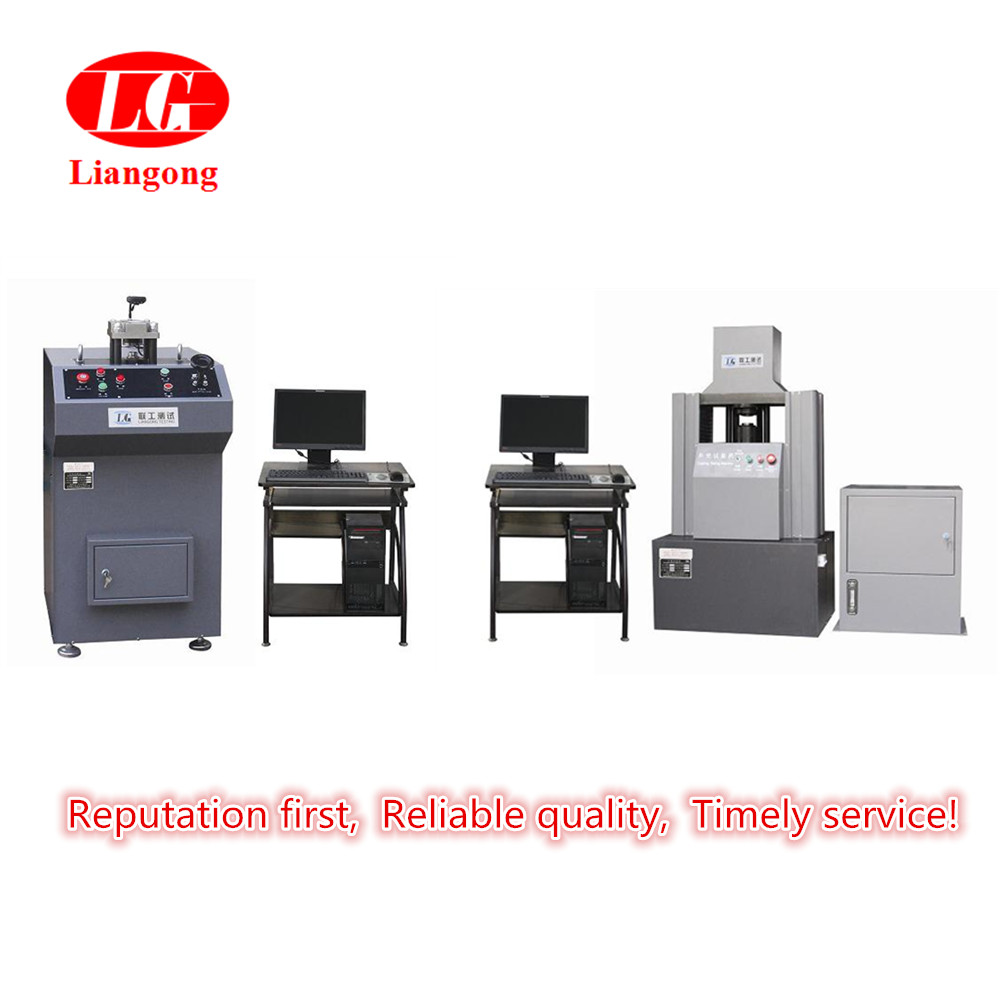
The main structure and working principle of GBW-100B microcomputer controlled cupping tester
GBW-100B microcomputer control cupping tester sample clamping device adopts hydraulic loading system, automatic or manual operation, the host is composed of oil pump, overflow valve, electromagnetic reversing valve, working oil cylinder, pressure sensor, etc. It can be realized through electrical control from the automatic clamping of the sample to the display of the cupping value and maintain the whole process of completing the test. The punching load is completed by servo motor, deceleration system, high-precision ball screw, etc. The structure has the advantages of easy control of loading speed, uniform punching force loading, high displacement (cupping value) measurement accuracy, and convenient computer automation control.


The working principle of this testing machine is to start the oil pump first, the pumped oil flows through the reversing valve (two-position four-way electromagnetic reversing valve), and then through the speed regulating valve to the clamping cylinder, pushing the big piston up, Make the clamping mold clamp the sample, adjust the overflow valve to control the clamping force at a certain value, and the excess oil flows to the oil tank through the solenoid valve; when stamping, click on the control software to start, then the servo motor drives the synchronous pulley through the reducer and drives it through the lead screw. The moving beam rises and pushes the stamping rod up to complete the whole test process. The sample has cracks and the peak value drops. The testing machine will automatically stop and reset.
The clamping force, test force, and test curve can all be displayed on the computer in real time.
The cupping depth (cupping value) is the depth of the punch pressed into the test piece using digital display. The linear mechanical displacement is transmitted to the microcomputer through electrical signals through a high-precision displacement sensor for "analog-to-digital" conversion processing. The digital quantity is displayed, and its reading accuracy can reach 0.01mm.


